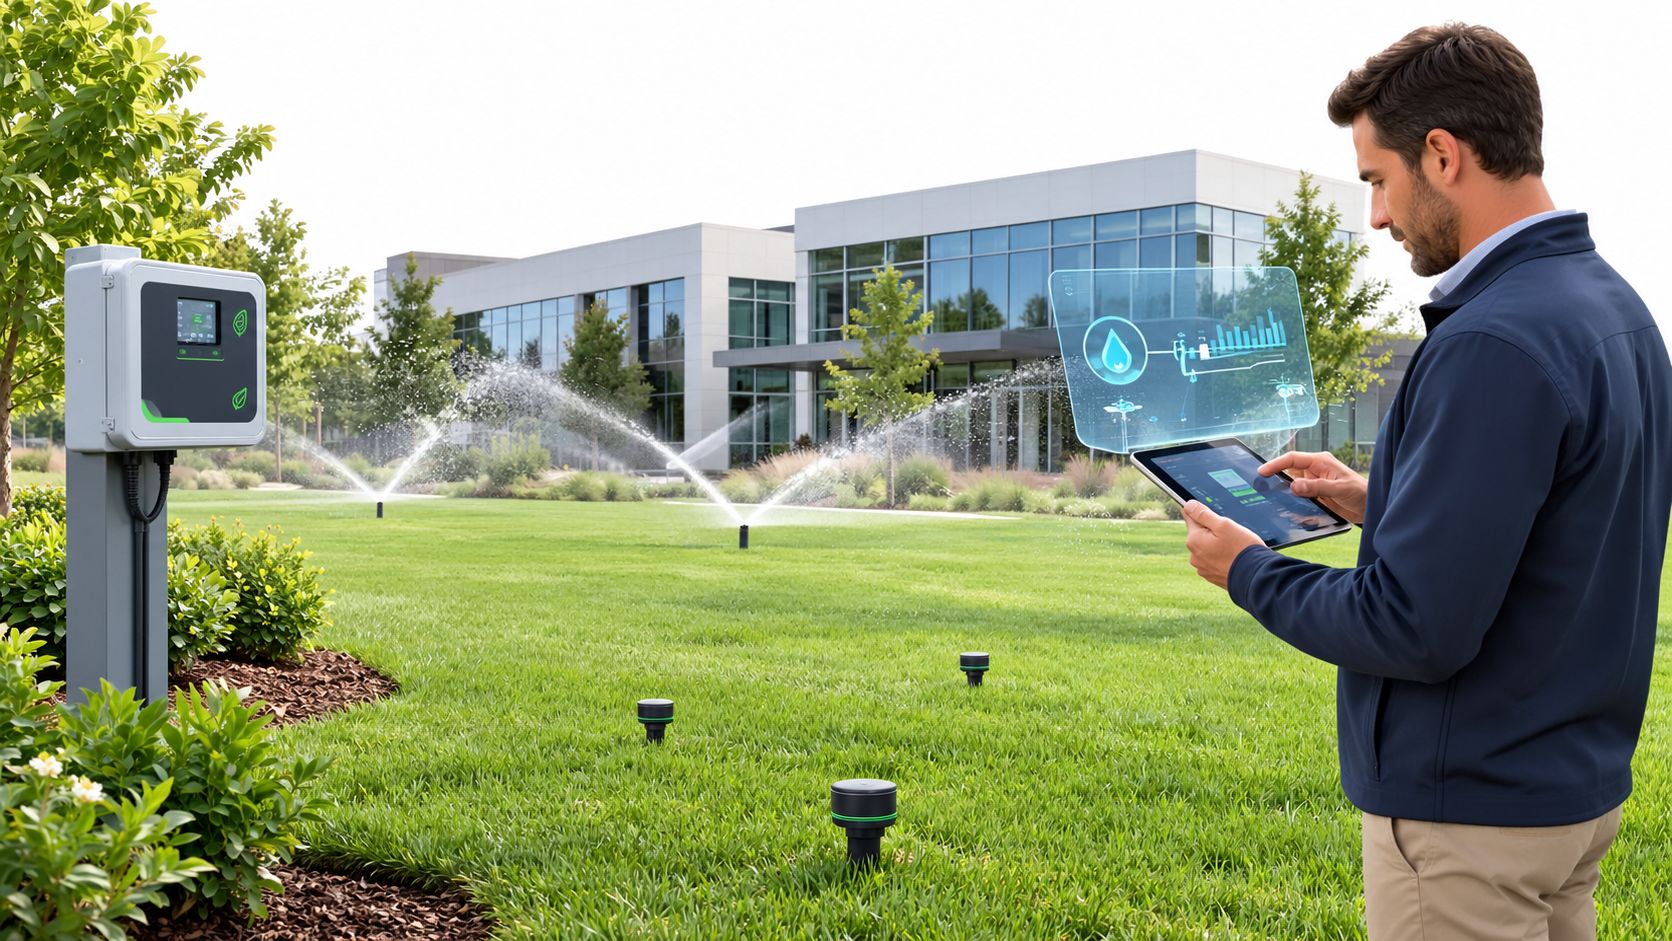
You're usually dealing with irrigation problems at the worst possible time. A tenant has noticed a dry strip near the entry drive, the HOA board is asking why water is running down the curb, or your maintenance team found a soggy area near a monument sign right before a busy leasing tour. On a commercial site, a sprinkler issue rarely stays small. It affects curb appeal, water use, safety, and your maintenance budget all at once.
Good sprinkler system repair how to starts with one mindset shift. Don't begin with the repair. Begin with diagnosis. On large properties, guessing is what turns a simple head adjustment into a wasted service call, a torn-up bed, or a recurring zone problem that keeps coming back every month.
Table of Contents
- First Response Your Commercial Sprinkler Troubleshooting Kit
- A Guide to Common Commercial Sprinkler System Repairs
- Budgeting for Repairs Tools Parts and Cost Analysis
- Proactive Maintenance to Prevent Costly Emergencies
- When to Partner with a Professional Irrigation Specialist
- The Prestonwood Advantage A Worry-Free Solution
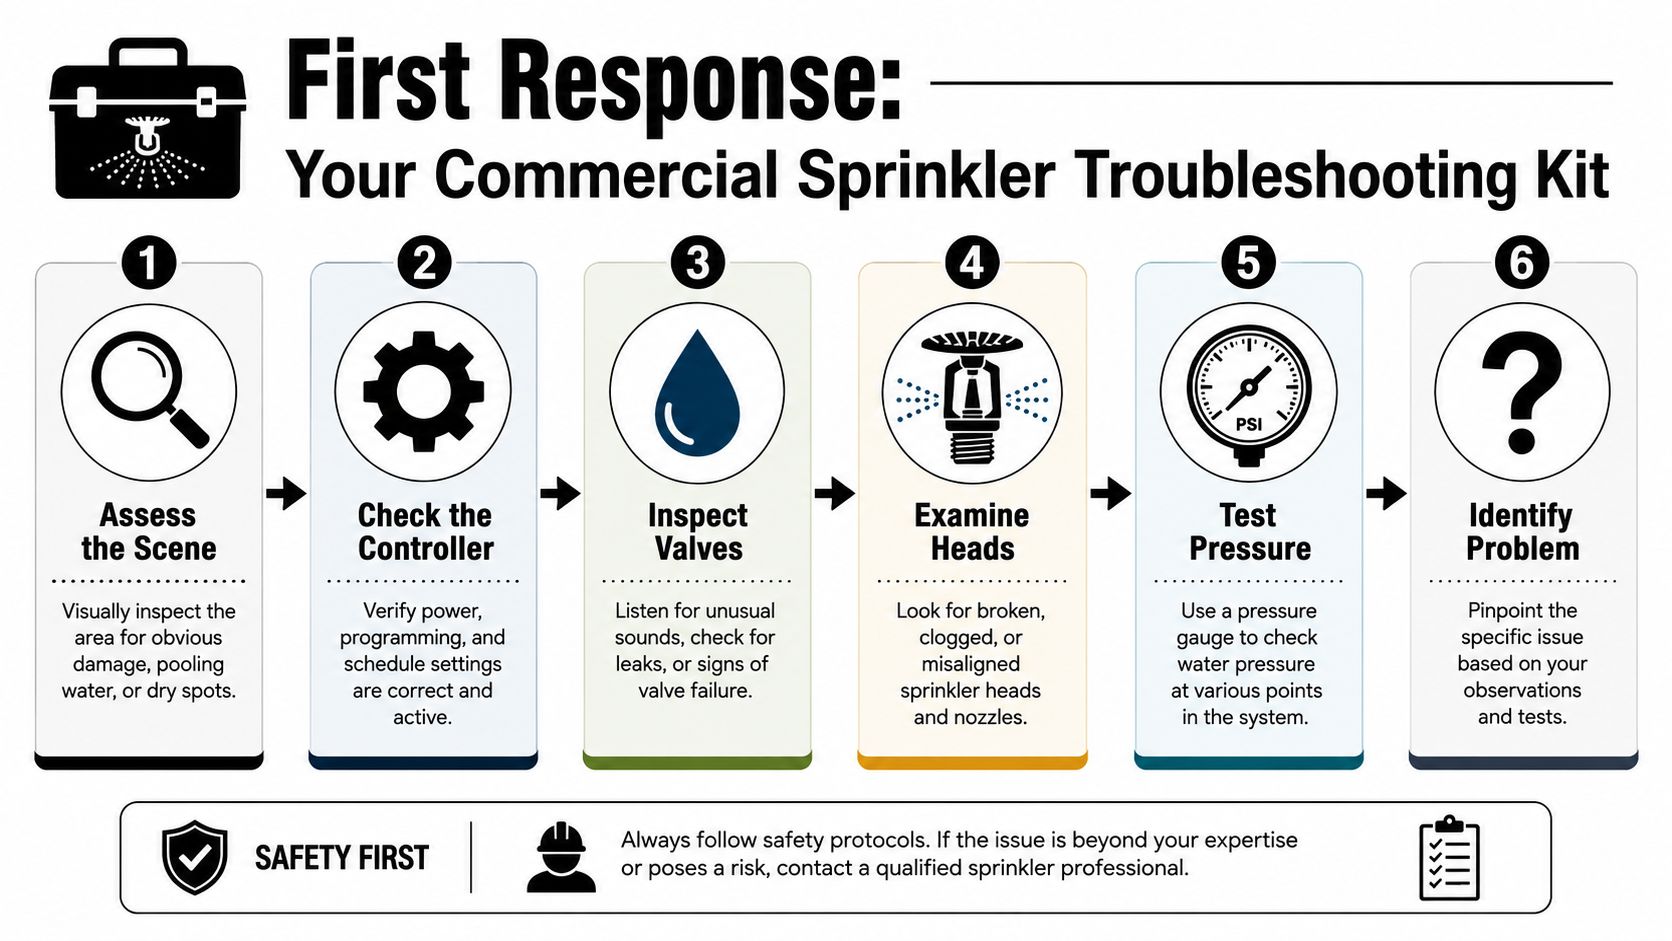
First Response Your Commercial Sprinkler Troubleshooting Kit
When you arrive at a problem area, the first job is damage control. If water is surfacing fast, a valve box is flooding, or a line break is undermining pavement or planting beds, shut the irrigation supply down before you do anything else. On a commercial property, that may mean isolating the system at the master valve or shutting off only the affected zone if your setup allows it.
Then identify the major pieces of the system in that area. You need to know which controller runs the zone, where the valve box is, whether the line is a pressurized mainline or a lateral line, and whether the nearby component is a spray head, rotor, valve, sensor, or backflow assembly. Property managers who keep an updated zone map save themselves a lot of labor here.
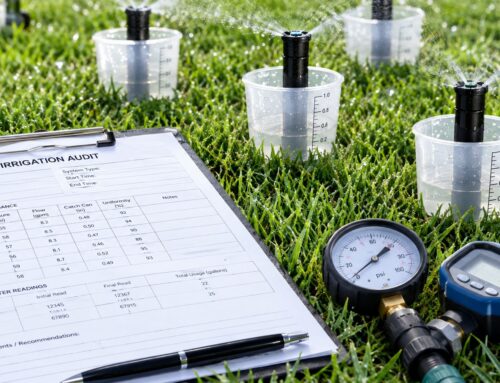
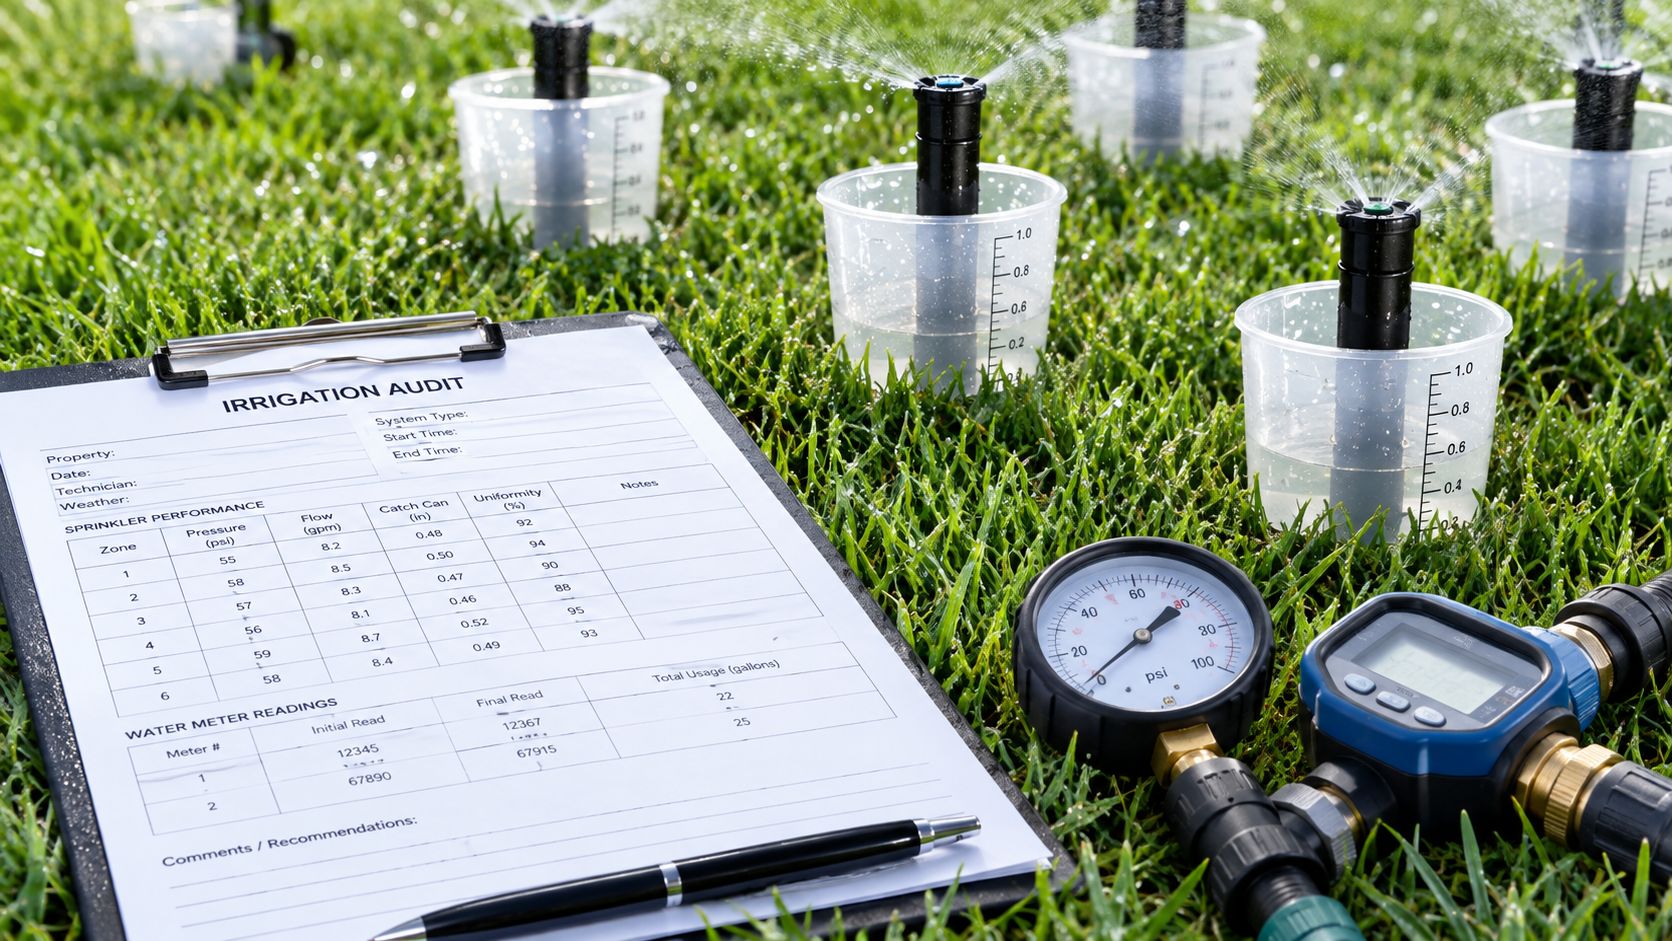
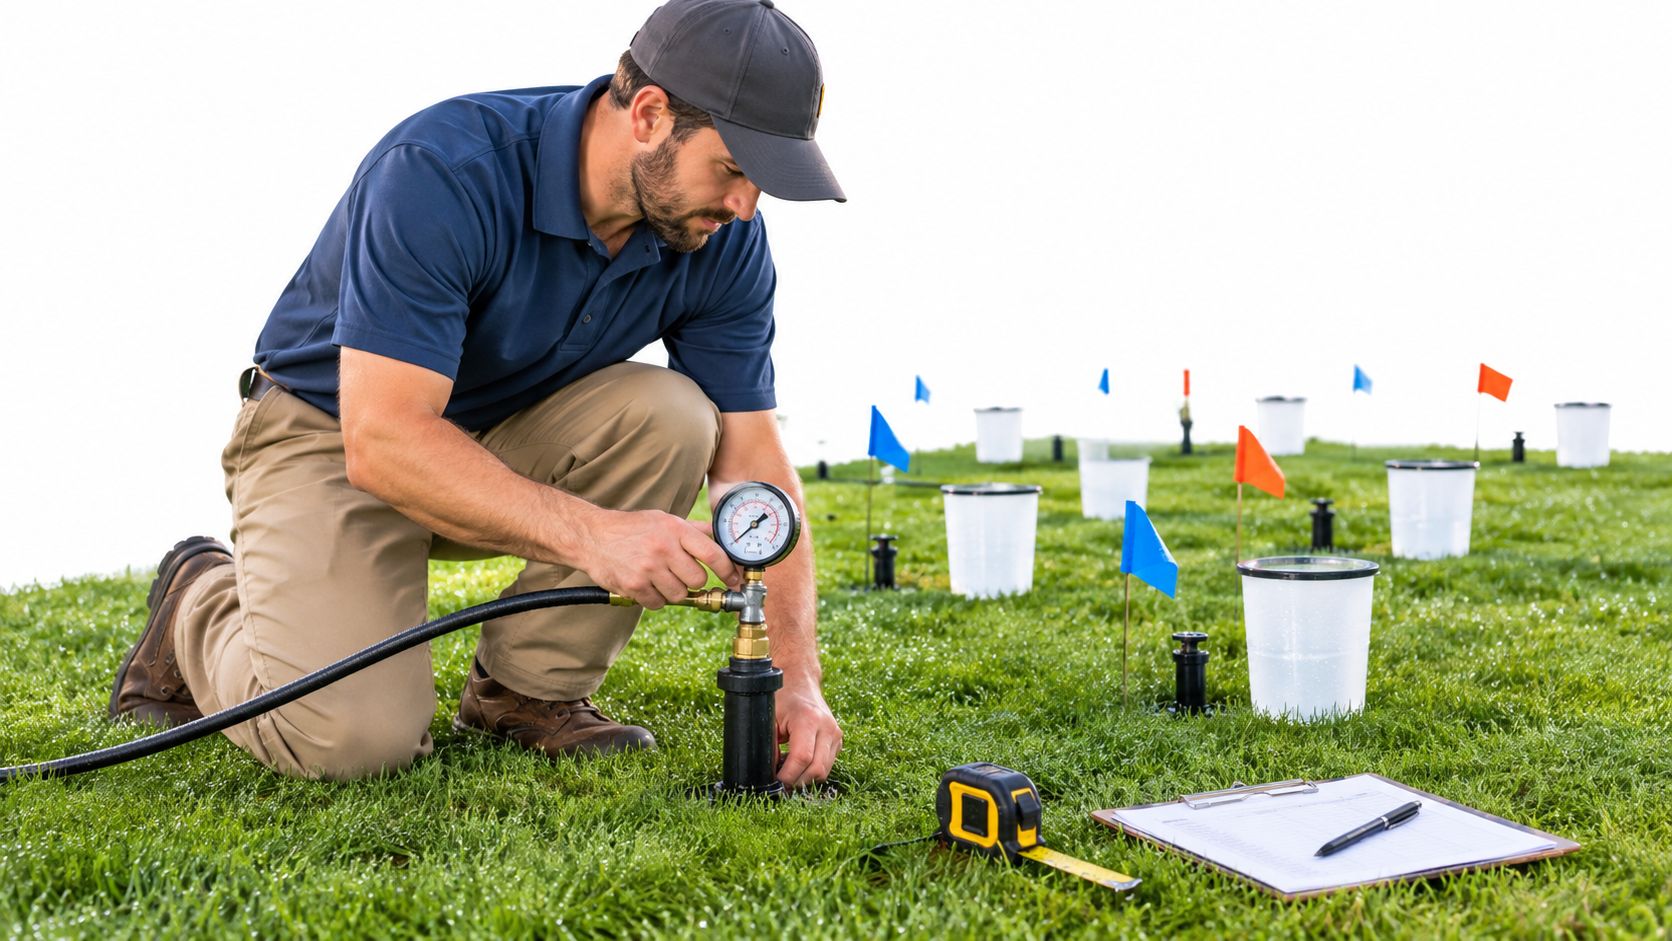
A disciplined troubleshooting process matters because skipped steps lead to wrong repairs. A six-step irrigation troubleshooting method includes visual inspection, probing dry zones, checking controller operation, verifying pressure at the nozzle level, measuring head spacing, and running a water audit. The same source notes that 40% of irrigation repairs stem from incomplete troubleshooting protocols in which teams skip pressure checks or catch-can analysis, according to Michigan State University irrigation troubleshooting guidance.
What to check before touching a tool
Start with the visible clues.
- Pooling water: Look for a broken riser, cracked fitting, leaking lateral line, or a valve that isn't closing fully.
- Dry turf or stressed shrubs: Confirm that the soil is dry by probing below the surface. A brown area isn't always an irrigation failure. Compaction, shade, runoff, or poor coverage can look similar.
- Erratic spray pattern: Watch for clogged nozzles, heads stuck below grade, misalignment, or pressure imbalance inside the zone.
- A whole zone not running: Check controller programming first, then solenoid wiring, then the valve.
If possible, run the problem zone manually at the controller while one person stays in the field. That cuts out guesswork. One person can confirm whether the controller is sending a command while the other listens at the valve box and watches head performance.
Practical rule: Don't dig first. Run the zone, observe the symptom, and narrow the failure to one component or one stretch of pipe.
The basic field kit that saves time
A commercial troubleshooting kit doesn't need to be complicated, but it does need to be complete.
- Valve box key and controller key: You can't inspect what you can't open.
- Flags or marking paint: Mark bad heads, soft spots, and suspected leak lines before the crew starts repairs.
- Hand trowel and narrow shovel: Use smaller tools near heads and wires to avoid turning one repair into two.
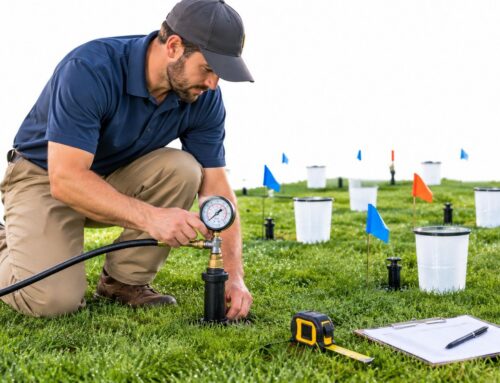
- Pressure gauge: Pressure problems often look like head problems.
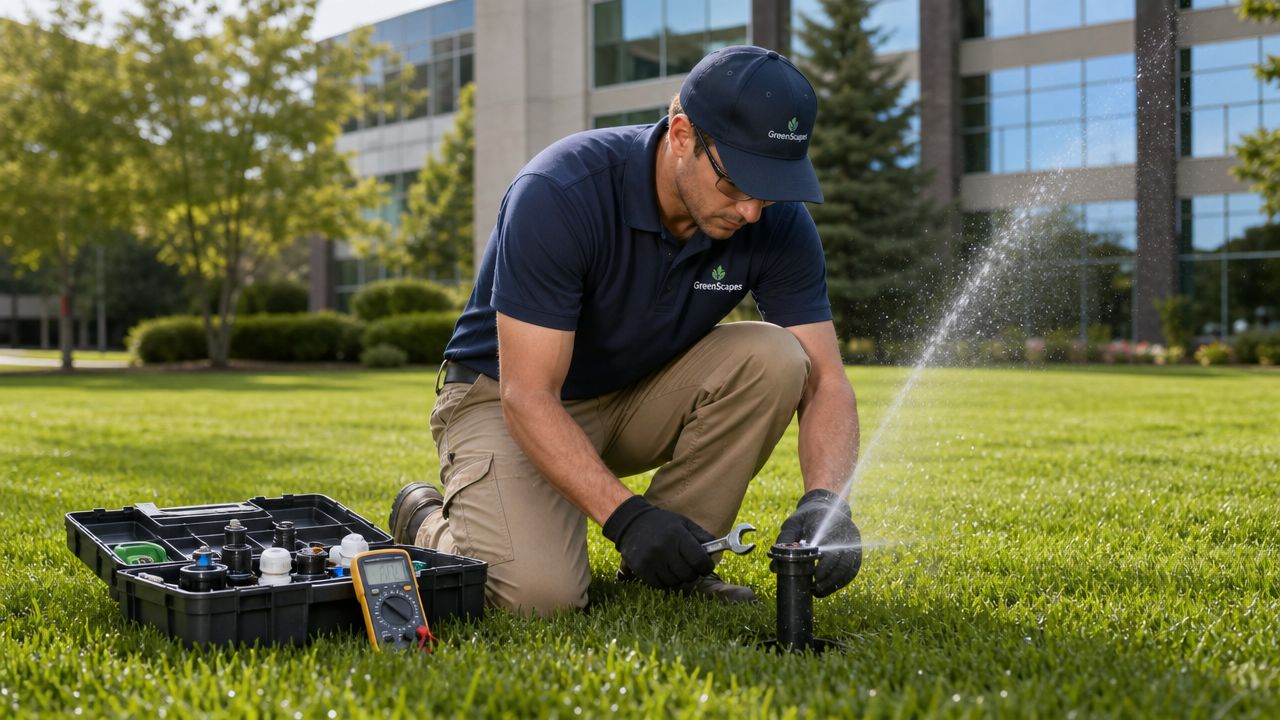
- Multimeter: Necessary when a zone issue may be electrical.
- Nozzle cleaning pin or fine wire: Useful when a head is clogged with debris.
The point of the first response isn't to solve everything on the first pass. It's to separate simple field repairs from deeper system faults so you protect the grounds and stop avoidable costs.
A Guide to Common Commercial Sprinkler System Repairs
A property manager usually hears about irrigation problems after they have already become visible. A tenant notices overspray on the sidewalk. An HOA board member asks why one entry bed is dry while the turf nearby is saturated. A maintenance crew reports a wet area that was not there last week. On a commercial site, the repair decision matters because one bad zone can waste water, create slip hazards, damage curb appeal, and pull staff into repeated callbacks.
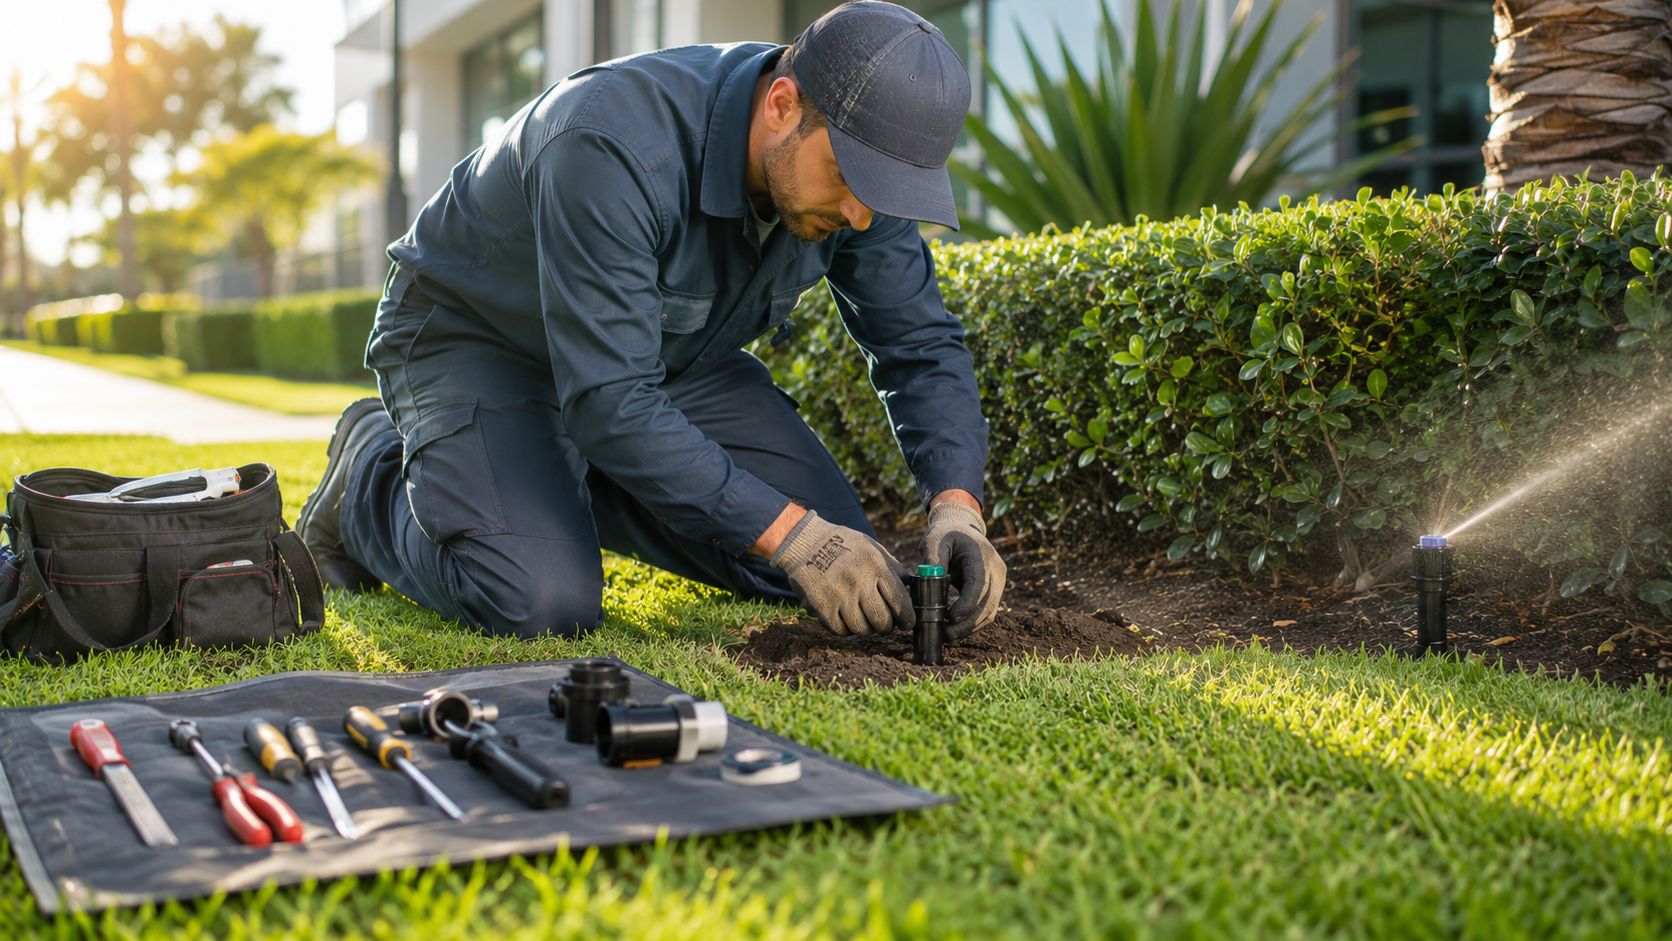
If you oversee an office park, retail center, or HOA, part matching matters more than it does on a small residential lot. Different areas are built for different precipitation rates, throw distances, and traffic exposure. This overview of commercial and residential sprinkler head types can help your team match replacement parts to the zone that is already installed.
Fixing Broken or Malfunctioning Sprinkler Heads
Head failures are the repair your crew will see most often. On commercial properties, they usually come from mower impact, vehicle tires near curbs, foot traffic, grade changes, edging work, or debris moving through older lines.
The symptoms are usually visible. A head sprays straight up. The pattern is uneven. One unit stays buried while the rest of the zone operates. Water hits pavement or walls instead of the intended planting area.
According to guidance from Advanced Irrigation, clogged nozzles account for a large share of uneven spray problems, proper pressure generally falls in the 25 to 50 psi range for rotors and 15 to 30 psi for sprays, and valve repairs often fail when diagnosis is incomplete. That lines up with what shows up in the field on larger properties. The visible head is often only the last point where a deeper issue shows itself.
The field fix
- Shut off the zone.
- Expose the head with a hand trowel. Keep the hole tight so you do not damage nearby lateral pipe or control wire.
- Remove the nozzle or head assembly and inspect for grit, cracked threads, a broken riser, or a split body.
- Clean the nozzle if debris is present.
- Reset the head at grade so it clears turf and mulch properly.
- Adjust the arc and radius to keep water off walks, signs, and building surfaces.
- Flush the line briefly before reinstalling the nozzle if the body is clear enough to do it safely.
Replace cracked heads and damaged risers. Field patches with tape, glue, or sealant rarely hold on a commercial route, and the labor to revisit the same head costs more than the part.
If one head keeps clogging, check upstream conditions before replacing it again.
Solving Low Water Pressure in a Zone
Low pressure across a commercial zone usually points to a mechanical issue inside that zone. The common causes are a lateral leak, a valve that is not opening fully, too many mismatched heads, or nozzles that were changed without checking flow demand.
Start by looking for pattern consistency. If every head is weak, begin at the valve and verify pressure there before changing parts in the field. If pressure drops only on one leg of the zone, inspect that branch line, especially around tree roots, pavement edges, and recent utility work.
Use a gauge. Visual guesses are expensive on a large property.
Pressure problems also create secondary costs. Poor pressure reduces coverage, crews start hand-watering to compensate, and dry spots invite complaints that sound like maintenance failures when the actual problem is hydraulic. For a property manager, that means higher labor, higher water use, and more time answering avoidable questions.
Diagnosing and Repairing Leaks Surface and Underground
Leaks on commercial systems range from obvious to expensive. A broken fitting near a head may show itself quickly. A slow lateral leak under turf can run for weeks before anyone connects the wet area to irrigation runtime.
Visible clues include bubbling water, soil erosion, standing water around a head, or a wet strip that follows a pipe run. Harder cases show up as persistent softness underfoot, unusual settling, stained pavement edges, or one consistently greener section in an otherwise uniform area.
A controlled repair saves money.
- Visible break near a head: Excavate around the head, inspect the riser, swing joint, and fittings, then replace the failed component.
- Suspected lateral line leak: Run the zone, mark the wettest point, and open a test hole instead of trenching a long section first.
- Suspected mainline leak: Treat it differently from a zone leak. If the area stays wet when the controller is off, isolate the line before excavation and confirm whether it is under constant pressure.
On office parks and HOA common areas, buried infrastructure is the trade-off many new managers underestimate. Irrigation lines may share space with lighting wire, communication conduit, drain pipe, and tree roots. Smaller test excavations take more patience up front, but they prevent collateral damage and keep repair scope under control.
Troubleshooting Faulty Irrigation Valves
Valve problems create some of the most misleading symptoms in a commercial system. A valve can stay open, fail to open, open halfway, or chatter under flow. Any one of those can look like a controller issue or a pressure issue if the crew skips the diagnostic steps.
Open the box and make it serviceable first. Remove standing water, clear soil away from the bonnet and wiring, and identify the valve before taking it apart. Then run the station manually and listen for response at the valve while observing the zone.
Use this checklist in order:
- Solenoid issue: Test continuity and inspect waterproof splices for corrosion, loose connections, or cut wire.
- Debris in the diaphragm: Shut off water, disassemble the top, clean the diaphragm and ports, and reassemble evenly.
- Mechanical damage: Replace the valve if the body is cracked or the threads are compromised.
- Poor access: Expand the work area enough to make a clean repair. A rushed valve repair inside a cramped box often turns into a second service call.
For in-house crews, valves are where the labor risk starts to rise. Rebuilding a valve makes sense when the make and model are standardized across the property and the box is accessible. Full replacement is often the better decision when the valve body is old, the parts are mixed, or the diagnosis is still uncertain after testing.
Resolving Controller and Electrical Issues
A zone that will not start does not automatically need a new controller. On larger sites, field wiring faults, failed splices, bad station assignments, and sensor lockouts are more common than total controller failure.
Check the controller for the basics first. Confirm power, date and time, run times, station assignments, and any rain or moisture sensor input that may be holding the system off. After that, move to the field side and inspect the common wire and station wire at the valve box.
A clean sequence keeps your crew from chasing the wrong fault.
- Confirm the schedule and manual run function.
- Verify the system is not in sensor shutdown.
- Test station output at the controller.
- Inspect the field splice and solenoid connection.
- Trace wire path only after controller output and valve condition have been checked.
Documentation matters more on commercial properties because turnover happens. If your maintenance team, irrigation vendor, or site supervisor updates valve maps, wire paths, and controller labels after each repair, the next failure gets diagnosed faster and with less disruption to tenants and residents.
Budgeting for Repairs Tools Parts and Cost Analysis
A commercial irrigation budget gets strained in small increments. One failed head is minor. Ten wet spots across an office park, a valve that sticks open over a weekend, and a crew spending hours on the wrong box turns into overtime, tenant complaints, and avoidable water loss.
Budget for repair speed, not just repair parts.
Analysts at Wilcox Bros. industry and cost data estimate the North American lawn sprinkler repair market at about $2.7 billion, with projected growth of 3.3% over the next five years. They also cite a national average sprinkler repair cost of $250, with labor often falling between $55 and $120 per hour. For a property manager, that matters less as trivia and more as a benchmark. If your in-house team needs three trips, extra digging, and emergency cleanup to complete a repair a contractor could finish on the first visit, the lower hourly rate does not automatically save money.
What your in-house team should stock
Stock for the failures you see every month on your property. Skip the temptation to build a warehouse around rare parts.
- Head bodies and matched nozzles: Keep the same models already installed across the site so spray patterns stay consistent.
- Risers, swing joints, and threaded fittings: These handle a large share of break-fix work around turf edges, medians, and mower-damaged heads.
- Irrigation-rated wire connectors: Valve box splices fail fast when crews use connectors meant for dry locations.
- Valve diaphragms and solenoids for your standardized valve lines: Good inventory only if your site uses a limited set of makes and models.
- Pipe repair couplings, primer, and solvent or adhesive matched to the pipe material: Correct materials cut down on callbacks and weak field repairs.
If you need a planning reference for annual reserves, unit pricing, and service expectations, review these commercial irrigation repair cost considerations.
Commercial Sprinkler Repair Cost and Time Estimates
| Repair Type | Typical Parts Cost | In-House Labor (Approx.) | Professional Cost (Avg.) |
|---|---|---|---|
| Replace single sprinkler head | $20 to $45 | Short repair if access is clear | Typically within the same $20 to $45 range for replacement work |
| Repair underground line leak | Varies by pipe and fittings | Moderate to high, depending on locating and excavation | $150 to $300 |
| Repair broken pipe | Varies by pipe and fittings | Moderate to high | $100 to $400 |
| Replace valve | Varies by valve model and box access | Moderate, with higher diagnostic risk | $125 to $250 |
| Replace backflow preventer | Component-specific | Usually not an in-house task | $450 to $1,700 |
The professional cost ranges above come from commercial sprinkler repair cost examples from AIM Arizona.
How to decide who does the work
Use a screening standard your team can apply without debate.
- Good in-house work: Head replacement, nozzle changes, arc adjustment, raising sunken heads, visible riser repairs, and other low-risk fixes with clear access.
- Case-by-case work: Valve rebuilds, recurring low-pressure complaints, wire troubleshooting, and leak tracing near established trees, hardscape, or signage.
- Better outsourced: Mainline failures, backflow replacement or testing, widespread electrical problems, trenching that risks site damage, and repairs tied to code compliance.
A simple rule helps. If the repair can expose your property to water waste, vegetation damage, pavement damage, or repeated labor because the diagnosis is uncertain, bring in a specialist early. The cheapest line item is often the repair that gets done once, documented properly, and does not create a second problem.
Proactive Maintenance to Prevent Costly Emergencies
Emergency irrigation work usually starts months earlier. A head slowly settles below grade. A nozzle begins to clog. A controller schedule doesn't get adjusted after weather shifts. None of those failures look urgent the day they start. On commercial sites, they become urgent when guests notice runoff, tenants complain about dead material, or a hidden leak damages pavement edges and planting beds.
That's why prevention works better than heroics. The earlier section covered how to troubleshoot a problem accurately. The maintenance side is about making those problems less frequent and easier to spot.
A practical seasonal routine
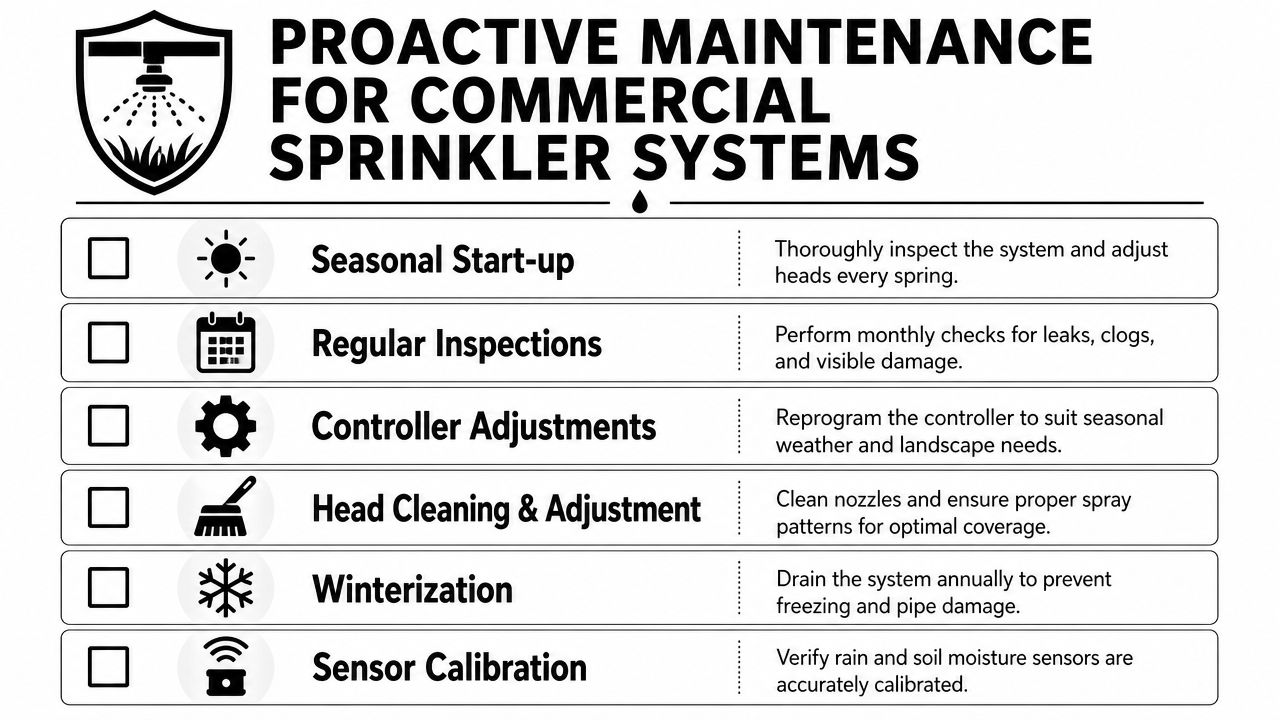
Spring start-up should be deliberate, not rushed. Pressurize slowly, confirm each zone runs, inspect every head for grade and alignment, and look for winter damage around exposed components. This is also the right time to correct overspray and address any area that showed stress at the end of the prior season.
Mid-season inspections should focus on change. Plant growth blocks spray patterns. Turf edge creep buries heads. Grounds crews sometimes cut wires or damage nozzles without realizing it. Managers who schedule regular walkthroughs catch these issues before they turn into complaints.
Fall work is about controlled shutdown and protection. If your climate requires winterization, make sure it's done correctly and documented. Even in warmer markets, end-of-season reviews help you identify which zones had repeated trouble and need off-season repair planning.
What a property manager should monitor monthly
- Runoff and overspray: Hardscape runoff usually means misalignment, excessive runtime, or poor pressure control. This article on recognizing overwatering signs in commercial landscapes is a useful companion when irrigation issues show up as plant decline or pavement runoff.
- Uneven plant response: One stressed bed in an otherwise healthy zone often points to coverage, not scheduling.
- Valve box condition: Boxes that stay full of water, fill with roots, or disappear under turf make future repairs slower.
- Controller review: Confirm schedules still match current conditions and site use.
A good maintenance program doesn't eliminate repairs. It moves them from emergency status to planned work.
What doesn't work
Reactive watering adjustments don't fix mechanical problems. Increasing runtime to compensate for a bad nozzle or a sunken head usually spreads the damage. The stressed area may improve for a while, but other parts of the zone start getting too much water.
The same goes for deferred small repairs. On a commercial property, a neglected head or wire issue rarely stays isolated. It starts affecting appearance, labor time, and eventually replacement cost.
When to Partner with a Professional Irrigation Specialist
A tenant calls before 8 a.m. because the entry drive is wet again, but no irrigation cycle is running. By noon, your maintenance crew has replaced one head, adjusted a nozzle, and changed a schedule. The pavement is still wet. That is the point to stop spending maintenance hours on guesses and bring in a specialist who can diagnose the actual failure.
On a commercial property, the line is simple. Routine adjustments and visible head replacements can stay in-house if your team has the parts, access, and documentation to do them correctly. Repeated failures, unclear electrical problems, pressure issues, and anything tied to compliance or major excavation should move to a trained irrigation specialist.

Commercial systems fail differently than small residential systems. You are dealing with longer runs, more valves, shared water demand, tenant visibility, hardscape exposure, and higher consequences when a repair goes wrong. A wrong dig near a monument sign, sidewalk, parking lot island, or tree root flare can cost far more than the irrigation part that started the problem.
Call a specialist when these red flags show up
- A wet area stays wet with no active zone: That often points to a mainline leak or a valve that is not closing fully.
- Pressure drops show up across multiple zones: The problem is usually larger than a single broken head.
- Backflow device issues are suspected: These affect safety, code compliance, and water protection.
- Electrical faults do not isolate cleanly: Repeated controller alarms, intermittent stations, and wire path problems need proper testing equipment and a clear troubleshooting process.
- The repair area carries excavation risk: Pavement edges, utilities, sign footings, mature tree roots, and high-traffic entries raise the cost of trial-and-error digging.
- The same zone keeps failing after minor repairs: Recurring trouble usually means the root cause has not been identified.
Specialists earn their fee by shortening diagnosis time and reducing unnecessary excavation.
That matters to property managers because labor waste is rarely visible on a single work order. It shows up over several visits, crew interruptions, tenant complaints, water loss, and areas that still do not perform correctly after you already paid to fix them once.
For commercial sites in Dallas, Fort Worth, and San Antonio, Prestonwood Commercial Services handles irrigation audits, repairs, and ongoing water management with the documentation and follow-through larger properties usually need.
The Prestonwood Advantage A Worry-Free Solution
Commercial irrigation management is rarely about one broken head. It's about keeping an entire property presentable, safe, and on budget while different stakeholders are watching for different problems. Tenants see brown turf. Owners see water bills. Boards see inconsistency. Your job is to keep all three from turning into recurring issues.
That's where a steady service partner changes the workload. A strong irrigation partner doesn't just react to visible leaks. They document zones, standardize parts where possible, catch repeat failures, and tie repairs back to overall grounds performance. That matters on office parks, retail centers, healthcare campuses, and HOA properties where grounds quality affects the way the property is perceived.
A key advantage is operational. When irrigation service is organized, your team spends less time chasing callbacks, digging in the wrong bed, or explaining why the same area failed again. Repairs become easier to track, budgets become more predictable, and your grounds stay aligned with the property's brand.
If you're managing a complex site and need fewer surprises, clearer repair decisions, and more control over water-related issues, Prestonwood Commercial Landscape Services can help evaluate your irrigation system, handle repairs, and support a more consistent maintenance plan.