
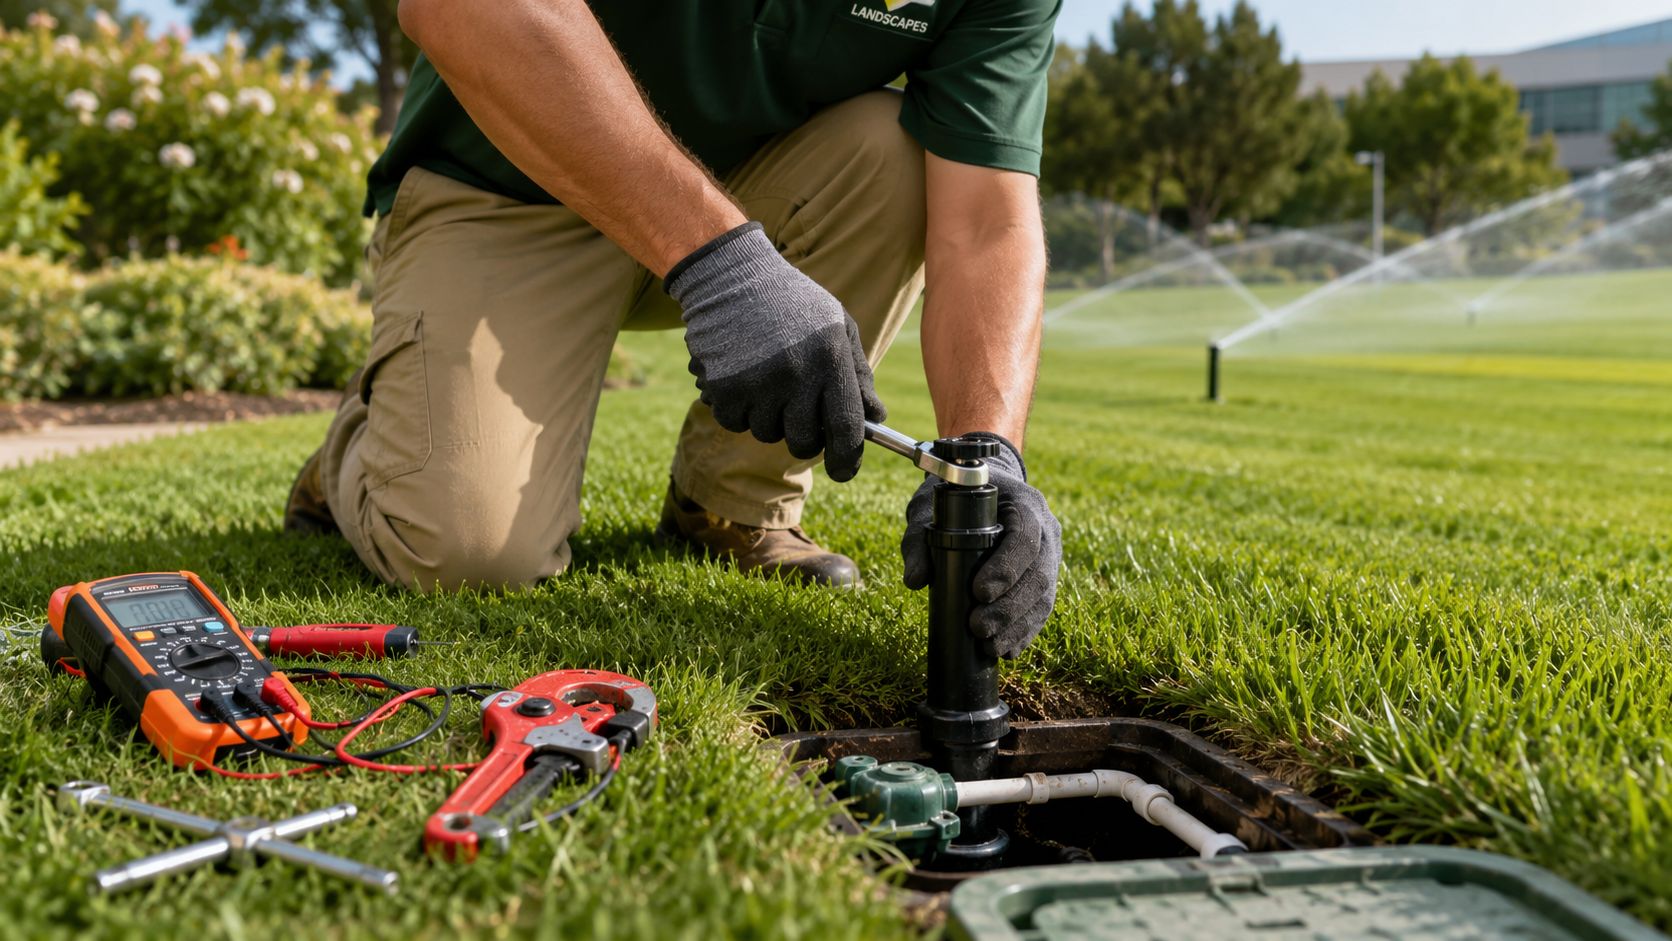
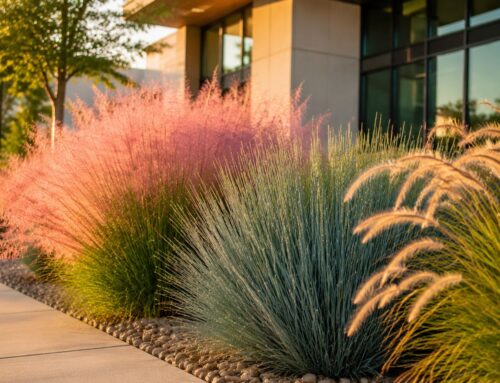
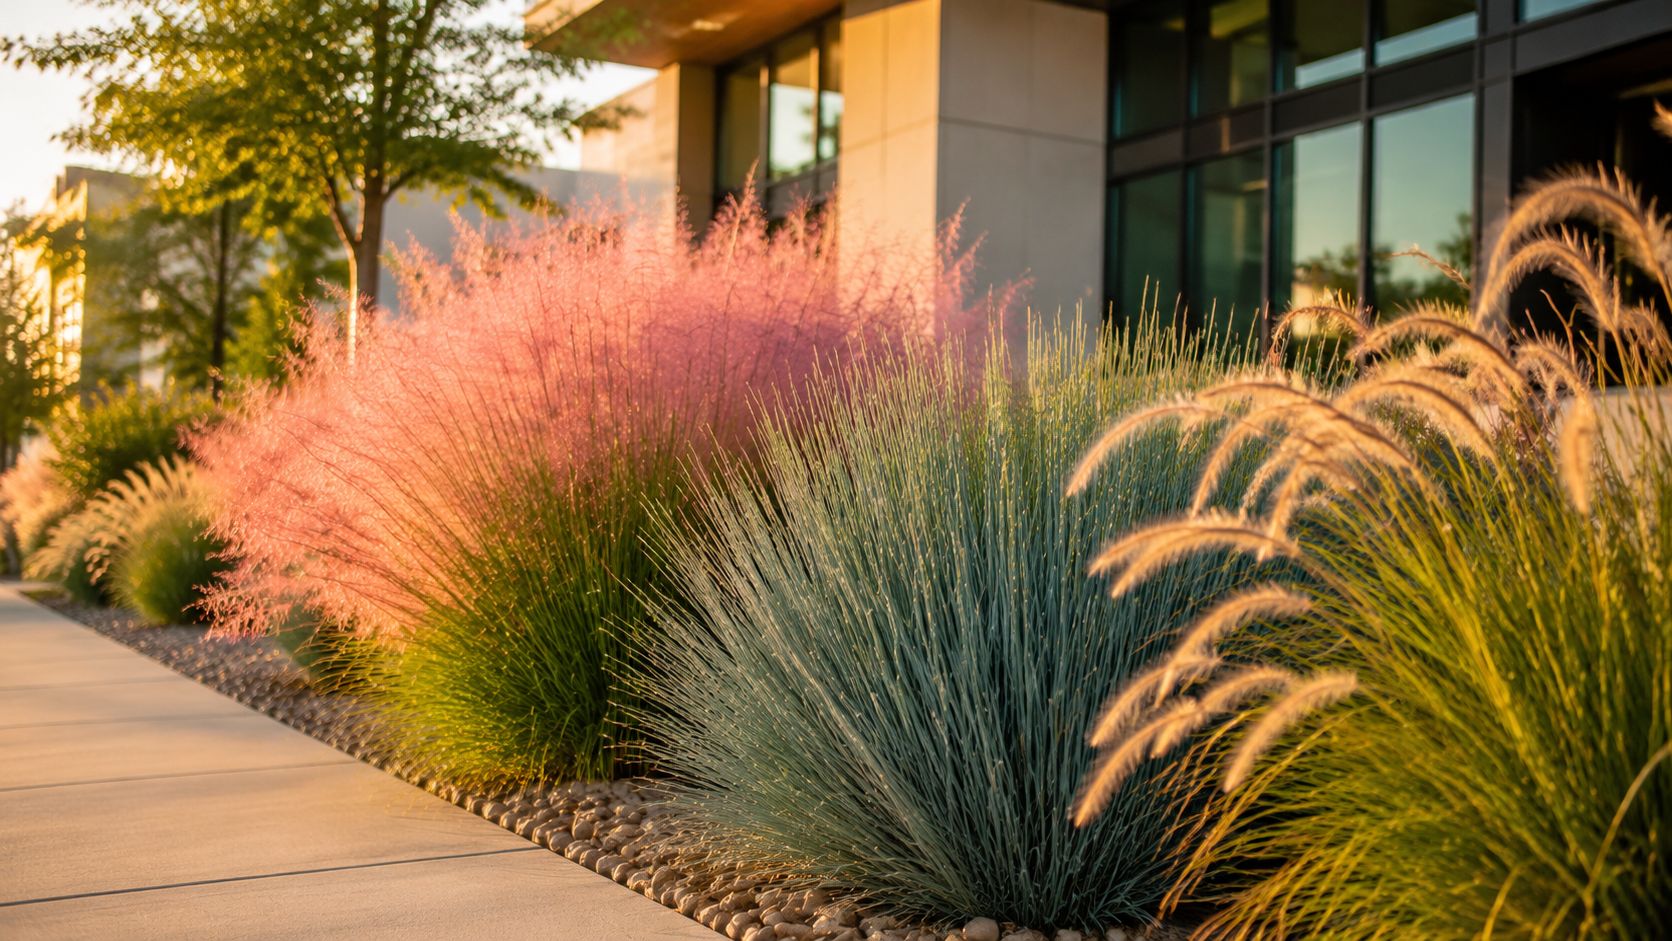
You usually end up searching for irrigation repair after a property walk goes sideways. A rotor is throwing water across a storefront entry, one valve box is holding water, and a dry strip on a slope is already drawing complaints. On a commercial site, those problems affect appearance, pedestrian safety, tenant satisfaction, and water use at the same time.
Most failures are not random. They leave a pattern in the field, and that pattern tells you whether you are dealing with a broken head, a pressure problem, a valve issue, poor coverage on grade changes, or a control problem that reaches farther than one zone. Commercial systems also fail differently than small residential setups because they cover larger areas, run higher pressure, and often mix turf, beds, medians, and slopes on the same clock.
The goal is to diagnose the cause before you start swapping parts. That keeps a simple repair from turning into repeated callbacks, wasted water, or damage to pavement and plant material. If the site has runoff, algae, or turf that stays wet long after a cycle, review these common overwatering warning signs on managed landscapes because too much water can look like a hardware failure until you test the zone properly.
A good repair approach protects the property on two fronts. It restores coverage where plants need it, and it cuts waste where pressure, spacing, or scheduling are working against you. That is the difference between patching a symptom and fixing the part of the system that is costing money.
Table of Contents
- Your First Sign of an Irrigation Problem
- Essential Tools and Safety Protocols
- Diagnosing Common Commercial Irrigation Failures
- Stepwise Repair Procedures for Key Components
- System Testing and Proactive Maintenance Schedules
- Compliance and When to Call for Professional Service
Your First Sign of an Irrigation Problem
At 6:00 a.m., the first complaint usually is not "the irrigation system failed." It is "water is running into the drive lane," "the entry turf is browning," or "the sidewalk is slick again." On a commercial property, those symptoms matter right away because they affect appearance, tenant perception, pedestrian safety, and the water bill at the same time.
The first job is to read the symptom correctly. A wet area does not always mean a broken pipe. A dry area does not always mean a bad head. On larger sites with slope changes, mixed plant material, long lateral runs, and high-pressure zones, one failure can show up somewhere else first. I have seen a valve problem at the top of a site create runoff at the bottom, and pressure issues near a mainline make the far end of a zone look like a coverage problem.
Practical rule: Treat the first visible symptom as a starting point for diagnosis, not the part to replace.
Speed matters, but guessing gets expensive. Replacing a sprinkler head because it looks damaged is cheap if that is the actual failure. It is wasted labor if the head was only the first weak point in an over-pressurized zone or a valve that is not closing fully. On commercial systems, the repair that saves money is the one that fixes the cause and prevents a repeat service call.
Pay close attention to three early warning patterns:
- Water where it should not be: Runoff across pavement, pooling at curbs, soggy valve boxes, and spray hitting storefront glass or loading areas.
- Dry stress in a defined pattern: Browning at the end of a zone, isolated decline around one head, or a strip that stays dry while adjacent turf is healthy.
- Uneven moisture in the same area: One section stays saturated while nearby material shows stress. That often points to pressure imbalance, nozzle mismatch, a stuck valve, or scheduling that no longer fits site conditions.
Overwatering can look like a mechanical failure, especially on commercial beds and medians where soil depth, slope, and sun exposure change within a short distance. If the site shows persistent soggy areas, fungus pressure, runoff, or yellowing growth, review these signs of overwatering on irrigated properties before approving part replacement.
A small residential yard can tolerate some trial and error. A commercial site usually cannot. One bad symptom can affect a large visible area, waste a significant amount of water, and create complaints before the day starts.
If you want to know how to repair irrigation system problems without chasing the wrong fix, start by asking two questions. What changed first? Which upstream component could create this exact pattern across the zone?
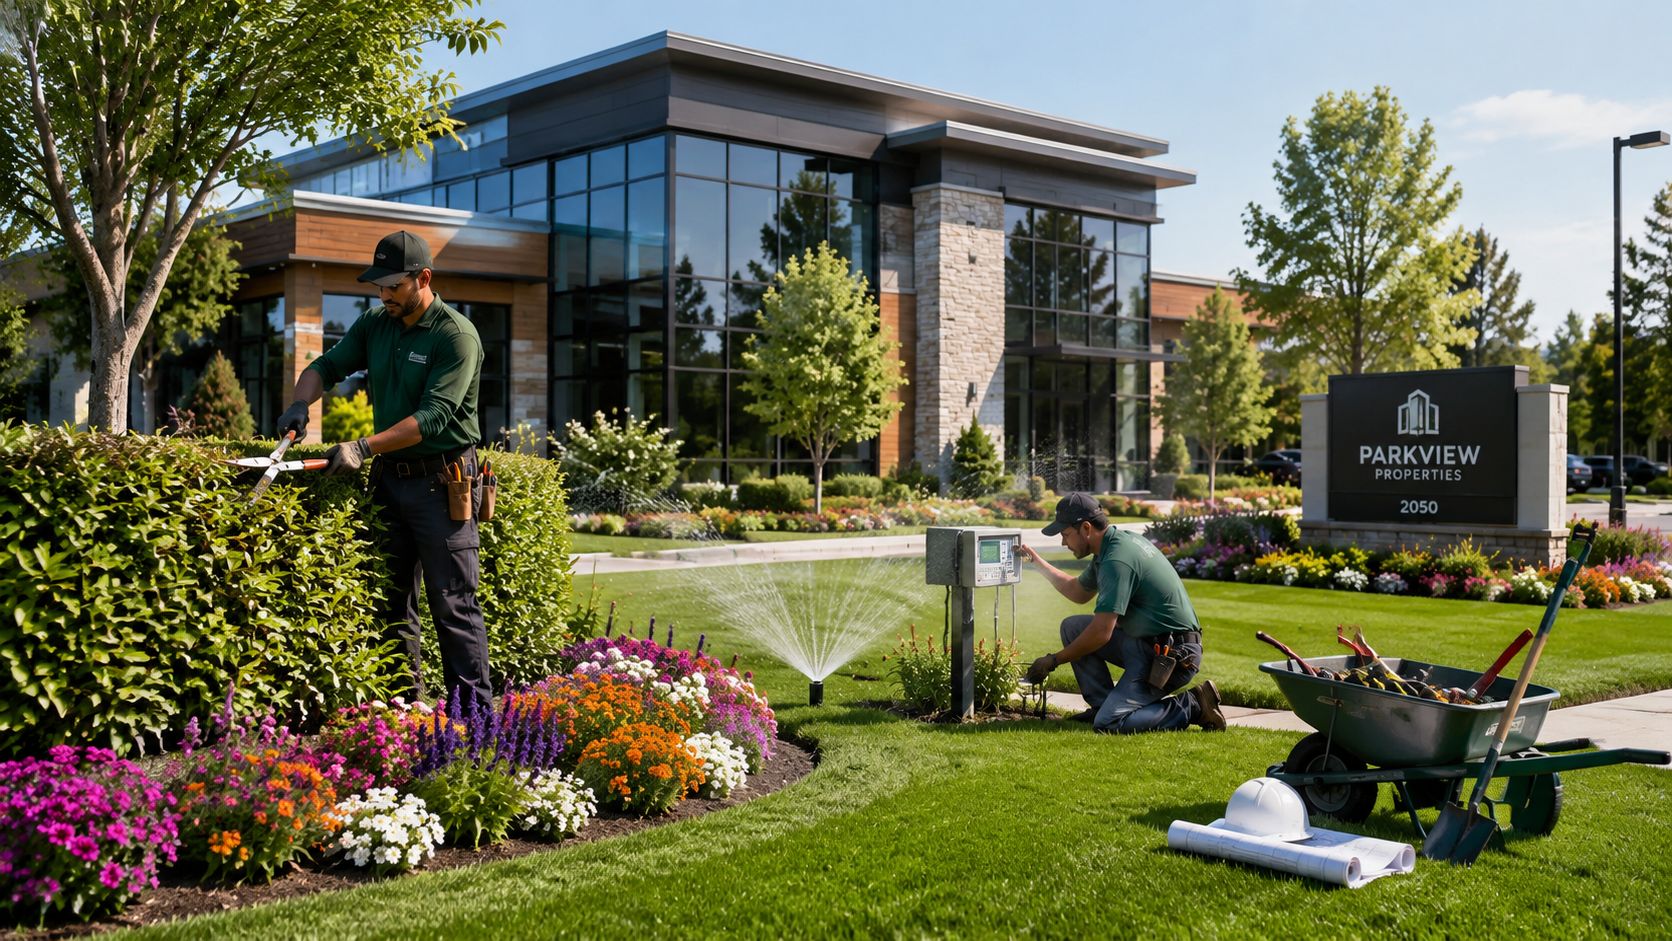
Essential Tools and Safety Protocols
Before any repair starts, lock down the basics. On a commercial site, the biggest mistakes happen when someone digs before locating utilities, opens a valve box without checking for wiring, or works around a live controller because the failure “looks mechanical.”
Start with shutoff and utility safety
Find the main irrigation shutoff before you touch anything else. If a line opens up while you're exposing a pipe or pulling apart a valve, you need a fast way to stop flow. Don't assume the building engineer or grounds crew knows where it is. Verify it.
Call 811 before digging if there's any chance the repair requires more than shallow hand exposure. Commercial sites often have added electrical, communications, and lighting lines in exterior areas. A rushed trench can turn a simple irrigation fix into a much more expensive service call.
Electrical safety matters too. Cut power at the controller before testing terminal connections, field wires, or solenoids. Even low-voltage irrigation wiring can create confusion if you start disconnecting leads while the controller is active.
Use these essential steps every time:
- Shut water off first: Confirm isolation before opening fittings, heads, or valves.
- Kill controller power: Prevent accidental activation while you're handling field wiring.
- Mark the repair area: Keep pedestrians, vendors, and maintenance crews out of the work zone.
- Dig by hand near components: Final exposure around pipes, valves, and wires should be controlled and careful.
Most secondary damage on irrigation repairs comes from rushing access, not from the actual fix.
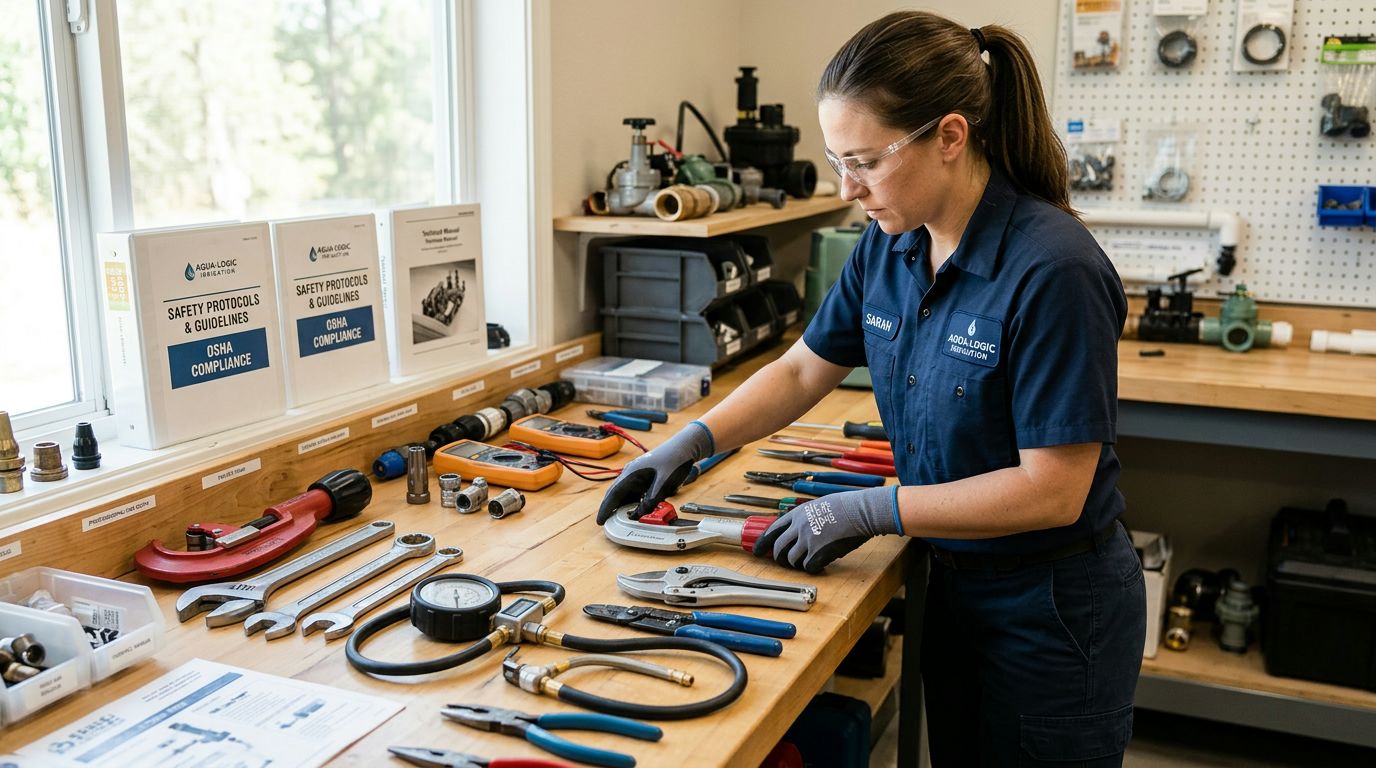
Keep the right diagnostic tools on hand
A basic shovel and replacement head aren't enough for commercial work. You need tools that help you identify the actual fault and verify the repair.
The core kit usually includes:
- Valve key and shutoff tools: For box access, manual valve operation, and system isolation.
- Bypass pruners and hand trowel: To open turf and bed areas neatly so restoration is cleaner.
- Pipe cutter: For making square, clean cuts on damaged pipe sections.
- Multimeter: To check controller output, continuity issues, and solenoid-related electrical problems.
- Wire tracker or locator: Useful when field wiring faults are suspected or valve locations aren't obvious.
- Nozzle cleaning tools and small brushes: For clearing debris from heads and filters.
- Thread seal tape: Commonly used during line repair where threaded fittings are involved.
- Spare nozzles, heads, risers, and common valve internals: So you can complete a repair in one trip.
Commercial properties also benefit from one habit that doesn't get enough attention. Keep a simple site map. Even a rough zone sketch with valve box notes and controller labels saves time later, especially when different crews touch the property over time.
Diagnosing Common Commercial Irrigation Failures
Commercial irrigation doesn't reward guessing. One symptom can point to several causes, and the wrong first move wastes labor. The fastest way to diagnose a problem is to start with what you can see in the field, then trace backward through the affected zone, valve, wiring, and control point.
Read the symptom before touching the system
If no zones will activate, start at the controller and water supply side. Check whether the controller is powered, whether the irrigation water source is available, and whether a recent shutdown left the system isolated. If the controller appears normal but nothing runs, the issue may be broader than one valve or one head.
If a single zone won't shut off, think valve first. Debris in the valve body, a damaged diaphragm, or a solenoid problem often keeps that zone open. On commercial properties, this can flood one planting bed while every other area appears normal, which can mislead staff into thinking it's just an overwatering schedule issue.
If you see low pressure, don't jump straight to the head. Low pressure can come from a leak, a partially closed valve, a clogged component, or friction loss in a poorly laid-out repair. A weak spray pattern across multiple heads usually points upstream from the head itself.
Irrigation Troubleshooting Quick-Reference Guide
| Symptom | Potential Cause | First Action to Take |
|---|---|---|
| No zones activate | Controller power issue, shutoff closed, common wiring fault | Verify controller power and confirm water supply is open |
| One zone won't turn on | Faulty solenoid, broken field wire, stuck valve | Manually test the valve and inspect wiring at the controller and valve box |
| One zone won't shut off | Debris in valve, damaged diaphragm, solenoid issue | Shut water off and open the valve for inspection |
| Low pressure in one area | Lateral leak, clogged nozzle, partially open valve | Walk the zone while active and look for wet spots or weak heads |
| Puddling near one head | Broken riser, cracked fitting, damaged head seal | Excavate around the head and inspect the connection point |
| Dry spot with normal schedule | Clogged nozzle, misaligned head, blocked arc | Run the zone and watch coverage pattern at grade level |
Commercial sites fail differently than small residential systems
Large properties introduce variables that most homeowner guides ignore. Zones may run longer distances. Pressure may vary from one end of the property to the other. Slopes, retaining edges, and roadside grades change how heads should sit and spray.
That's also why maintenance teams benefit from borrowing troubleshooting discipline from other equipment-heavy fields. A symptom-based diagnostic process, similar to what you'd expect in a fleet environment, keeps people from replacing parts blindly. The same logic behind a solid guide to calabrese truck repair applies here. Start with the complaint, inspect the system path, confirm the failed component, then repair.
If you're not sure what hardware you're looking at in the field, a working knowledge of types of sprinkler system layouts helps narrow the problem faster. Rotor zones, spray zones, drip conversions, and mixed-use retrofits fail in different ways. A stuck rotor symptom isn't diagnosed the same way as a drip lateral problem.
Two field habits make diagnosis much more accurate:
- Run the affected zone while watching the entire area: Don't inspect only the complaint location. The true leak may be upstream or downhill.
- Compare with a healthy nearby zone: Differences in sound, throw pattern, and valve operation often reveal more than static inspection.
If the symptom doesn't match the part you're about to replace, stop. The system is telling you something else.
Stepwise Repair Procedures for Key Components
Once the fault is confirmed, the repair needs to restore function without creating a new weak point. That's the difference between a quick patch and a durable commercial repair.
Replace damaged heads without creating a repeat problem
Shut the zone down and excavate around the head wide enough to work cleanly. Don't wrench on a head while soil is packed tight against the fitting. That's how risers crack below grade.
Remove the damaged head, inspect the riser or swing joint, and flush the line briefly before installing the replacement. If you skip flushing, grit often ends up in the new nozzle and the “new head” immediately performs like an old one.
On flat grade, set the head so it pops up perpendicular to the finished surface. On slopes, use more judgment. Standard alignment still matters, but there's an important exception that basic guides miss. In irrigation practice, heads at the bottom of a hill may need to remain intentionally angled to support proper distribution and avoid the problems that come from forcing every head to a perfectly vertical position, as discussed in this sprinkler head angle discussion from the irrigation community.
Use this sequence:
- Expose the head body and fitting fully.
- Remove the failed head and check threads for damage.
- Flush debris from the lateral line briefly.
- Install the matching head and nozzle.
- Set height to finished grade, not below it.
- Adjust arc and trajectory during live operation.
Repair pipe leaks with a clean, durable connection
A proper pipe repair starts with identifying the exact leak point. Wet soil, bubbling water, or a pressure drop in one area usually narrows the location. Once confirmed, dig carefully to expose enough intact pipe on both sides of the break so you can make clean cuts and install the new section without stress.
The field-proven method is straightforward. Cut out the damaged section with a pipe cutter, install a replacement segment, use appropriate barbed fittings, apply thread seal tape where needed, then test the system before backfilling. According to this irrigation pipe leak repair guide, that approach can produce a 90–95% success rate when performed correctly, while common DIY errors include mismatched pipe sizes and poor cuts that compromise the seal.
A few details separate reliable repairs from callbacks:
- Make square cuts: Angled or rough pipe ends don't seat well.
- Match pipe size exactly: Close enough isn't good enough under pressure.
- Support the repaired section: Don't force the coupling to bridge a misaligned gap.
- Test before backfill: You want to catch seepage while the repair is visible.
In high-pressure commercial zones with awkward routing, avoid adding unnecessary hard turns if you can. Many repair guides treat angle changes like a simple elbow swap, but field practice increasingly favors smoother transitions. Discussions in the trade have highlighted using 22.5-degree fittings instead of 90-degree elbows in some complex-angle repairs to reduce friction loss and recurring pressure-related issues, as noted in this industry discussion on fitting choice and pressure drop.
A leak repair fails early when the pipe is under tension, the cut isn't square, or the fitting layout fights the direction of flow.
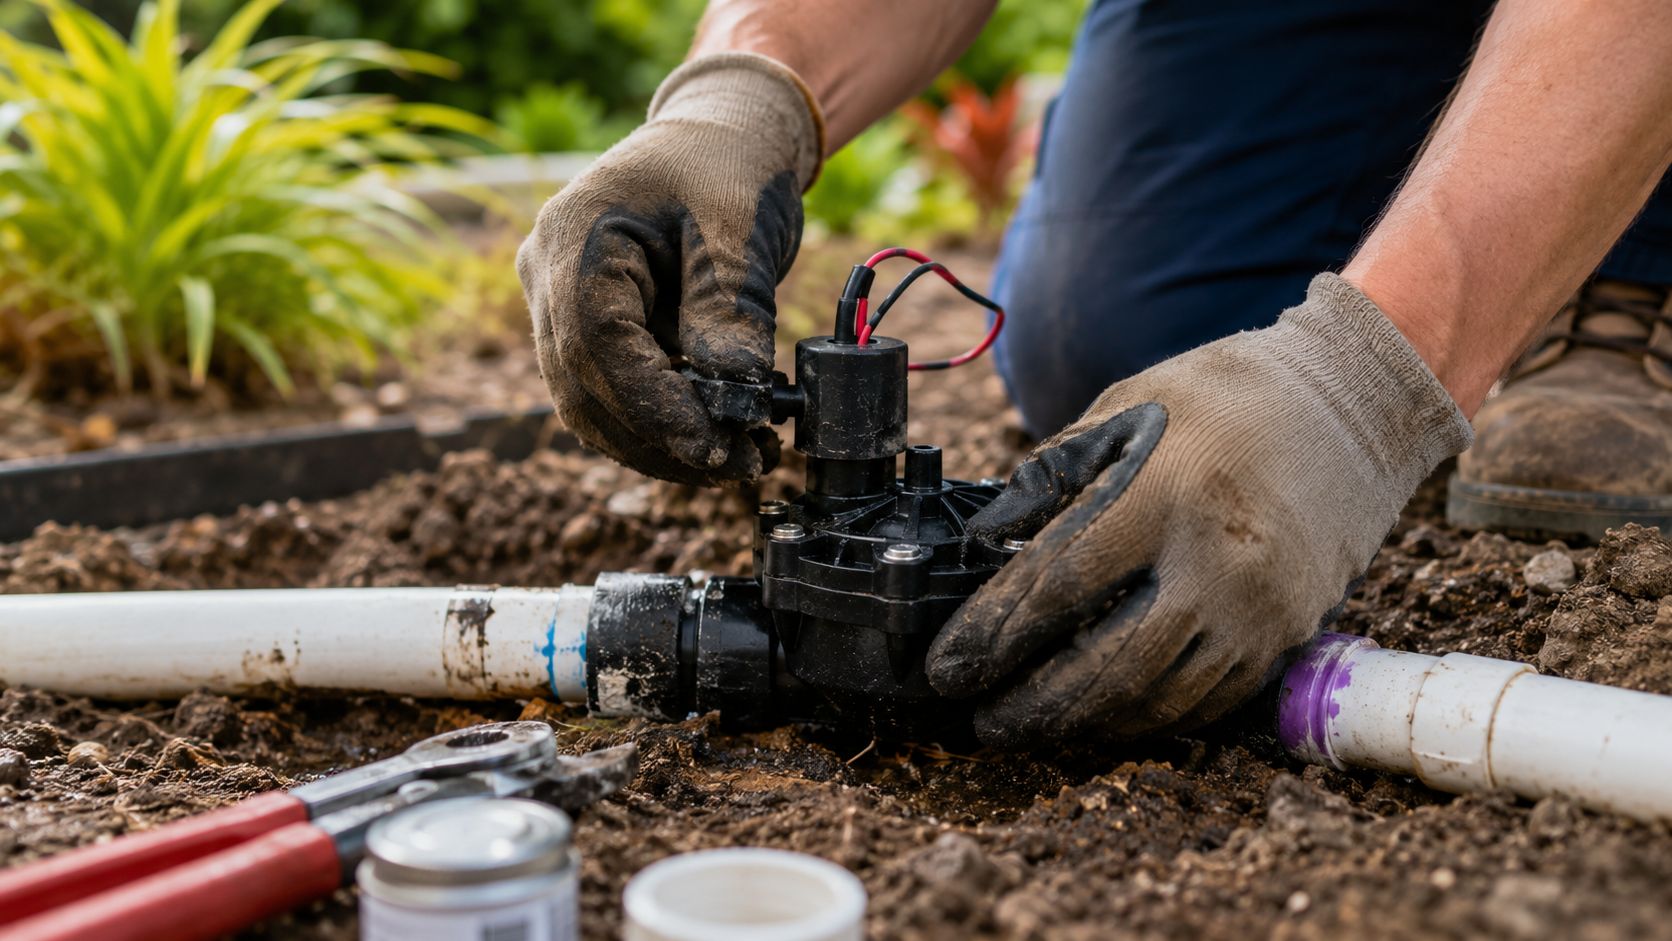
Service a valve before replacing the whole assembly
A valve that won't open or won't close doesn't always need full replacement. Shut off water, open the valve box, and inspect for standing water, silt, root intrusion, or damaged wire connections first. If the box is dirty, clean the work area before disassembly so debris doesn't drop into the body.
Open the valve bonnet and inspect the diaphragm and internal ports. A torn diaphragm, lodged grit, or damaged solenoid can all cause erratic operation. Clean what's reusable, replace worn internals when available, and reassemble carefully so the bonnet seats evenly.
Look for these common valve faults:
- Debris under the diaphragm: Often causes a zone to continue running.
- Cracked solenoid housing: Can create unreliable activation.
- Loose waterproof wire connections: Produces intermittent zone behavior.
- Warped internal parts: Usually better handled with replacement than repeated cleaning.
Check the controller only after the field side is verified
Controllers get blamed for many field failures they didn't cause. Before changing programming or replacing a controller, confirm that the valve, wiring path, and water side are in working order. Then inspect terminal connections, scheduling, sensor status, and obvious signs of moisture or damage inside the cabinet.
If one zone behaves badly but the controller output appears normal, the fault is often downstream. If multiple zones fail unpredictably, then controller-side investigation makes more sense. The sequence matters. That's one of the most practical lessons in learning how to repair irrigation system issues efficiently on larger properties.
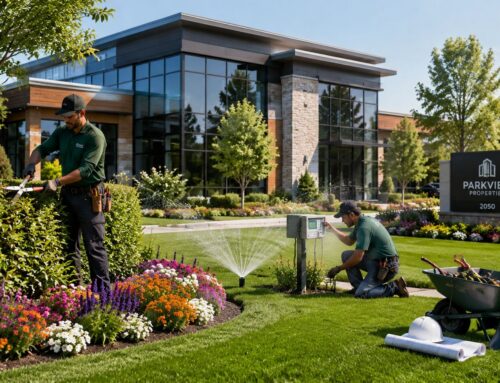
System Testing and Proactive Maintenance Schedules
A commercial irrigation repair is proven in the field, not at the parts counter. On a retail center, apartment site, or office campus, a zone that looks acceptable for 30 seconds can still leave dry turf on a slope, mist onto storefront glass, or keep weeping after shutdown. Testing has to reflect how the system runs under property conditions, especially where elevation changes and higher pressure create problems that a small residential yard never sees.

Run the repaired zone through a normal cycle and watch it long enough to see pressure stabilize. Then stay for shutdown. Some of the most expensive callbacks start with a repair that looked fine while water was on.
Use this post-repair check on every commercial site:
- Verify coverage pattern: Look for dry bands, overspray onto pavement, blocked arcs, and weak throw at the far end of the zone.
- Inspect the repair area: Check for seepage, soft soil, settling, or water surfacing a few minutes after the zone turns off.
- Compare pressure performance: Match spray quality and radius against nearby heads on the same zone, especially in low spots and long lateral runs.
- Confirm clean shutdown: Make sure the zone stops fully, with no prolonged weeping from low-head drainage or a valve that is not sealing well.
Pressure differences matter more on larger properties. A head replacement that works in a flat median may fail on a terraced entry drive because the lower heads keep draining after each cycle. On sites with booster pumps or high static pressure, the repair is not complete until nozzles, pressure regulation, and runtime all work together without misting or runoff.
Maintenance schedules should match how commercial properties fail. Damage usually starts small. A cracked riser near a sidewalk can turn into runoff, stained hardscape, trip hazards, and stressed plant material before anyone connects those issues back to irrigation.
A workable schedule has three layers:
- Season start review: Pressurize the system, run every active zone, straighten heads, clean nozzles, and flag weak valves, seals, and pressure problems before peak demand.
- Monthly site walk: Check for broken heads, leaks, clogged nozzles, poor coverage, runoff, and controller changes that no longer match plant needs or site use.
- Post-event inspection: After storms, mowing damage, utility work, paving, or grounds renovation, inspect heads, valve boxes, quick couplers, and exposed piping in affected areas.
Keep records. A simple zone log with date, issue, repair, and follow-up result helps spot repeat failures, justify budget requests, and decide whether repeated patching still makes sense. If the same zone has had three service calls for heads, fittings, and pressure complaints in one season, review the commercial irrigation repair cost factors and compare that ongoing spend against a targeted rebuild.
One more practical point applies to larger sites with mixed in-house and contracted work. If maintenance drifts into regulated plumbing-adjacent tasks, review local plumbing licensing requirements before assigning the job. That keeps a routine irrigation fix from turning into a compliance problem.
Compliance and When to Call for Professional Service
Some irrigation repairs are practical for an in-house team. Others cross into compliance, higher risk, or false economy. The smart decision isn't “Can someone on site touch it?” It's “Should this property rely on that repair?”
Use a simple decision framework
Handle basic work internally when the problem is isolated, visible, and low-risk. That includes straightforward head replacement, accessible lateral leak repair, and simple nozzle or arc correction. These jobs are manageable if the team can shut water down, dig carefully, and test the result.
Bring in a qualified irrigation professional when any of these apply:
- Backflow work is involved: Testing and related compliance often require certified personnel.
- Mainline failure is suspected: Pressure-side breaks can create bigger property and safety issues.
- Electrical faults are unclear: Wire tracing, intermittent shorts, and controller communication problems can consume hours fast.
- Central control systems are involved: A bad field assumption can disrupt multiple zones across a property.
- Excavation risk is high: Busy commercial sites with buried utilities aren't good places for trial-and-error digging.
If you're reviewing who can legally perform certain plumbing-adjacent tasks in your market, a broad overview of plumbing licensing requirements is useful background. Local rules differ, but the core point is the same. Compliance matters when work touches protected assemblies, regulated connections, or specialized testing.
Know the budget range before approving work
Professional pricing becomes easier to evaluate when you know the normal component-based ranges. According to market data on irrigation repair pricing and industry scale, leaks are typically billed at $120–$150, valves at $150–$180, head replacement at $25–$60, and wire tracing at $120 per hour. The same source notes that the U.S. Water Supply & Irrigation Systems industry comprises 45,902 businesses, which reflects how much infrastructure depends on experienced maintenance support.
Those ranges help with approval decisions. If the issue is confined and the quote aligns with the component involved, outside service may be cheaper than internal labor spent diagnosing the wrong problem. If you need more context on what affects pricing at the property level, this breakdown of irrigation system repair cost is a helpful reference.
The best repair decision usually comes down to three questions:
- Is the failure isolated or systemic?
- Does the work create compliance or utility risk?
- Will a delayed fix cost more in appearance, water loss, or repeat labor?
When the answer points toward complexity, call for professional service early. That protects the grounds and usually protects the budget too.
If your property needs a reliable partner for commercial irrigation troubleshooting, repairs, audits, and ongoing water management, Prestonwood Commercial Landscape Services can help. Their teams support office, retail, industrial, hospitality, healthcare, HOA, and campus properties across Dallas, Fort Worth, and San Antonio with responsive service that protects curb appeal, controls water use, and reduces lifecycle costs.


